


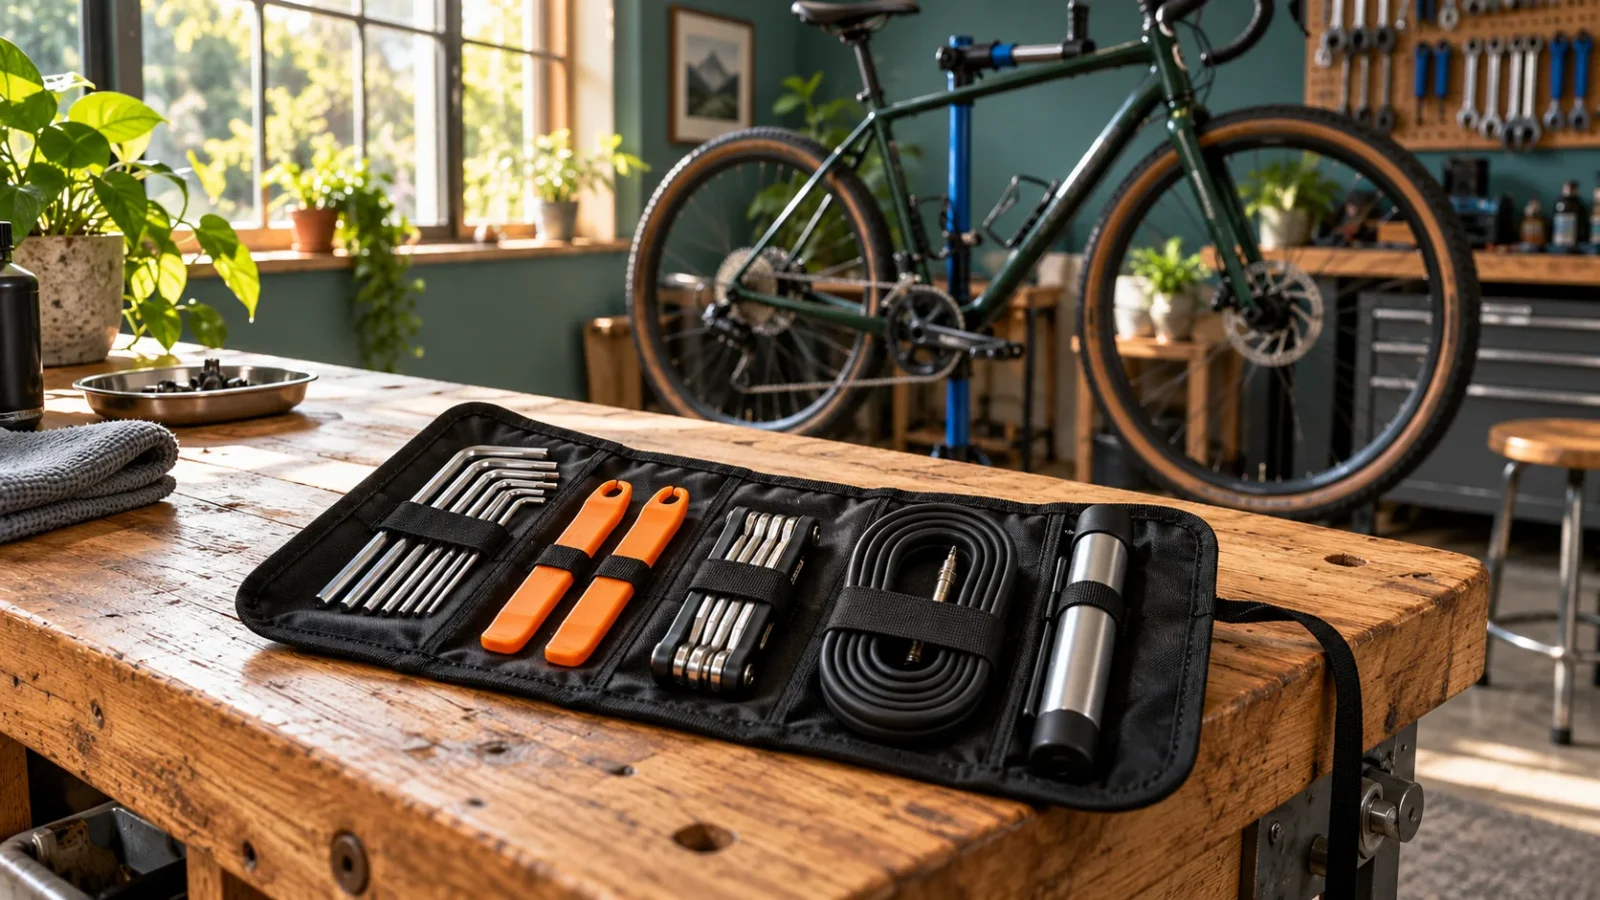
A useful bicycle tool kit solves the jobs you can actually perform on your bike. Start with a compact roadside kit, then add workshop tools as you learn specific maintenance tasks. A large case of incompatible tools is less useful than a small kit you have practiced using.
Choose tools by the job
| Job | Roadside kit | Home setup |
|---|---|---|
| Restore tire pressure | Compatible mini pump | Floor pump with readable gauge |
| Repair a tube puncture | Matching spare tube, tire levers, suitable patch kit | Inspection space and replacement rim tape when needed |
| Check a loose accessory | Correct hex or Torx bit | Torque wrench and manufacturer specification |
| Maintain a chain | Compatible quick link and tools only if trained | Chain wear gauge, cleaning supplies and lubricant |
Build the roadside kit first
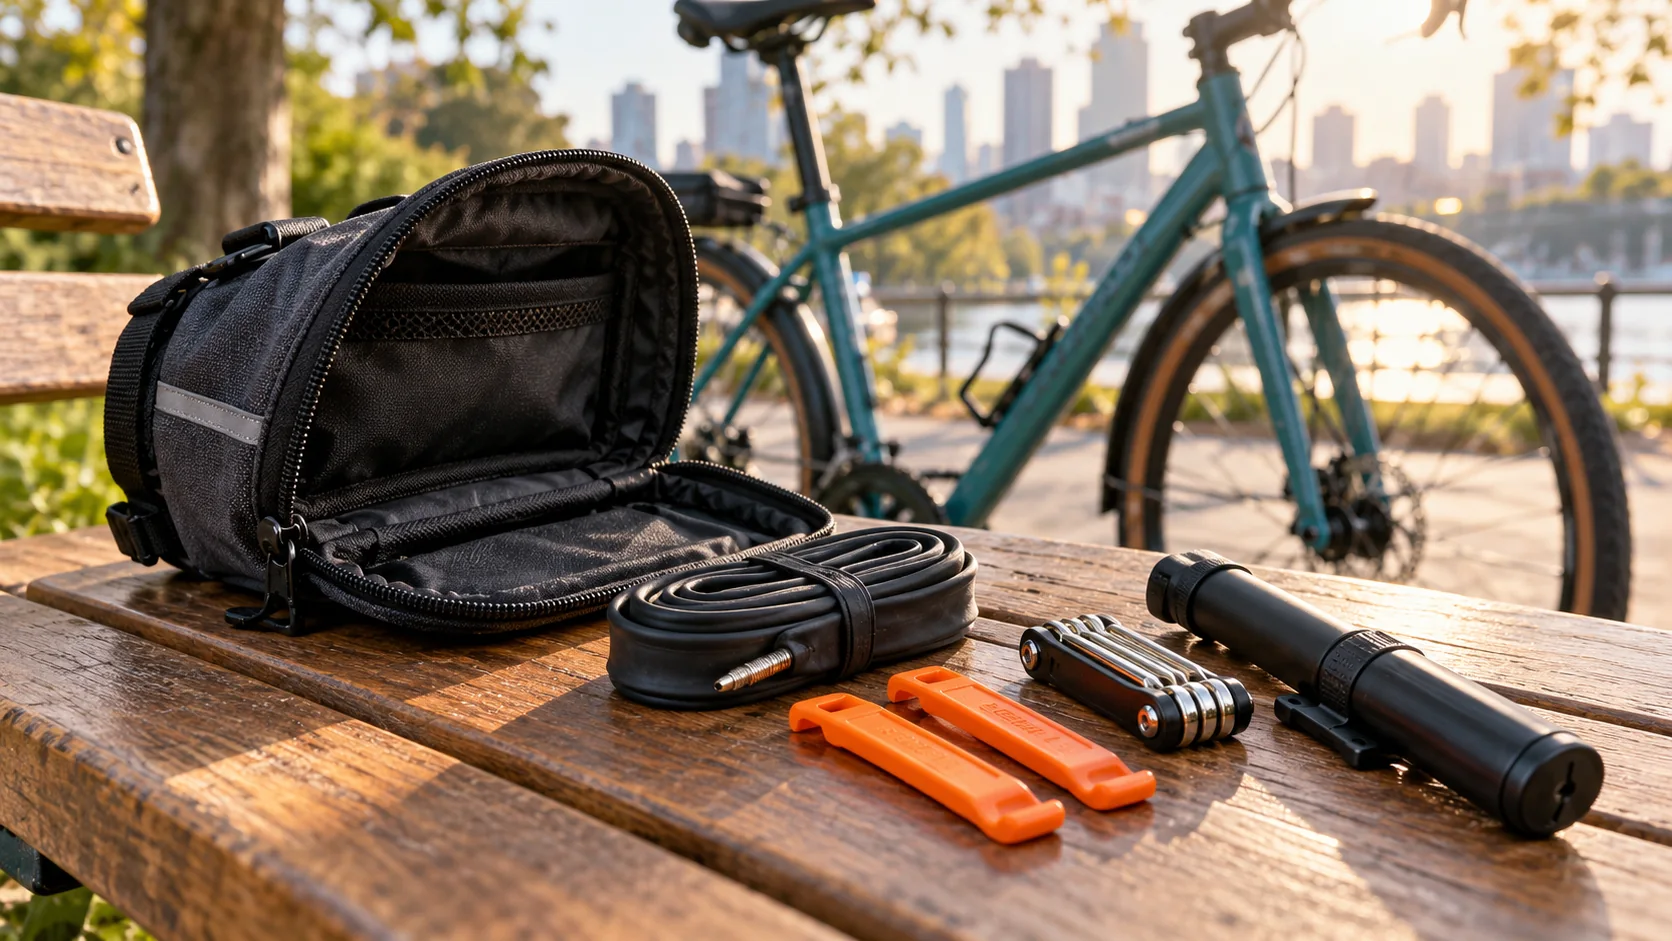
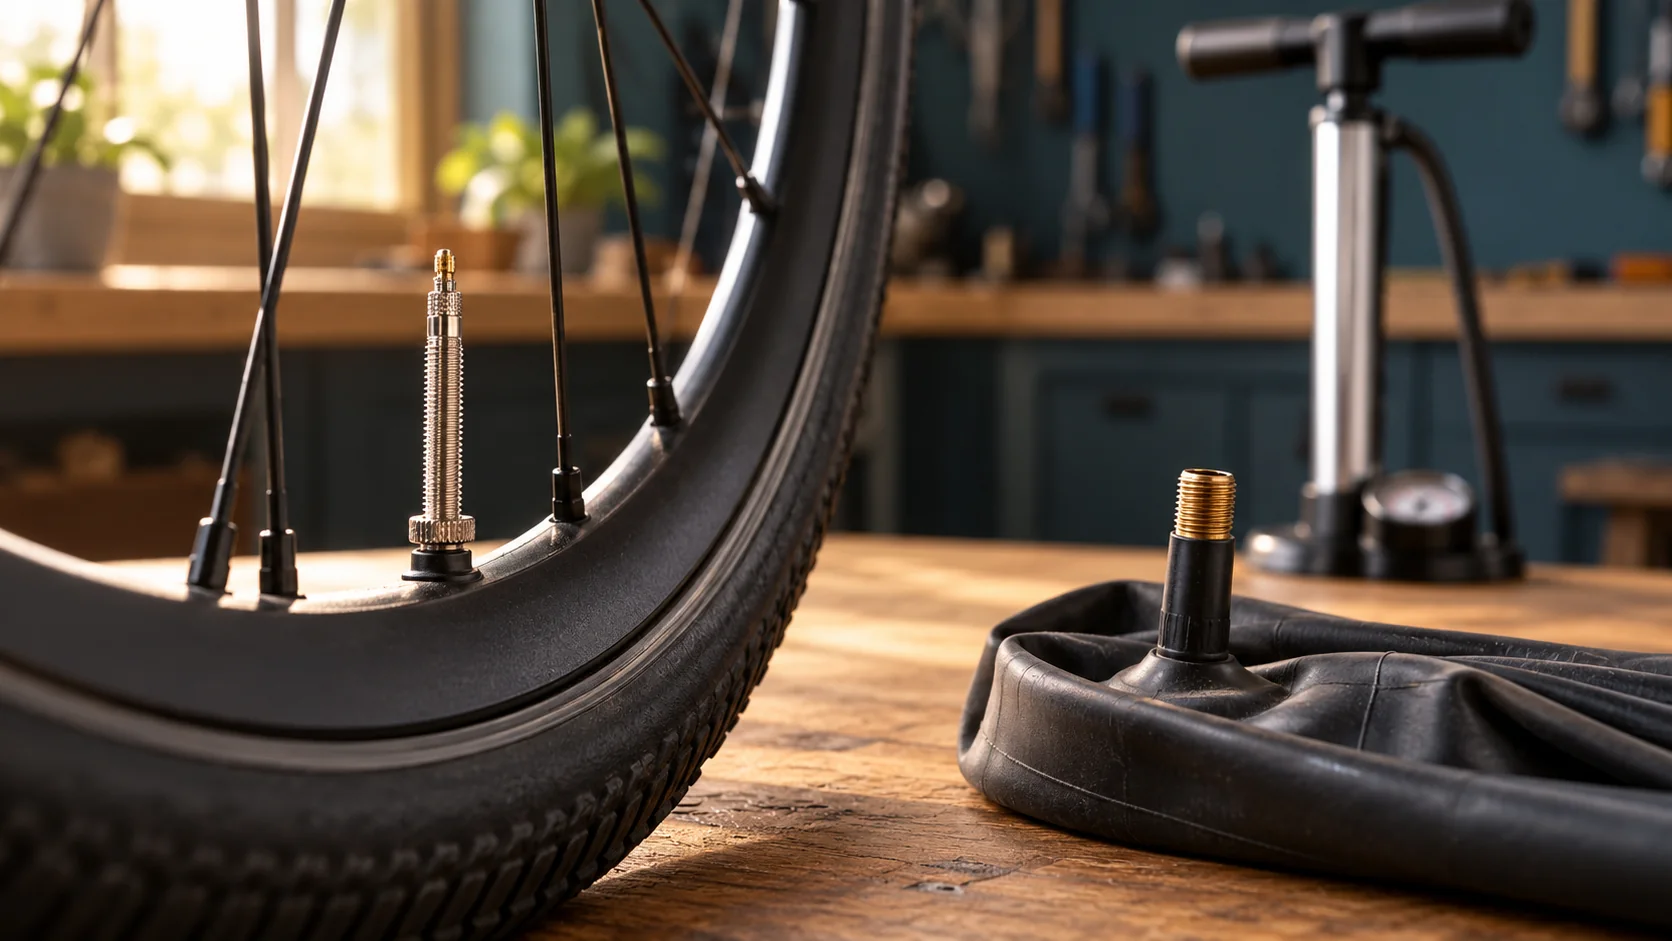
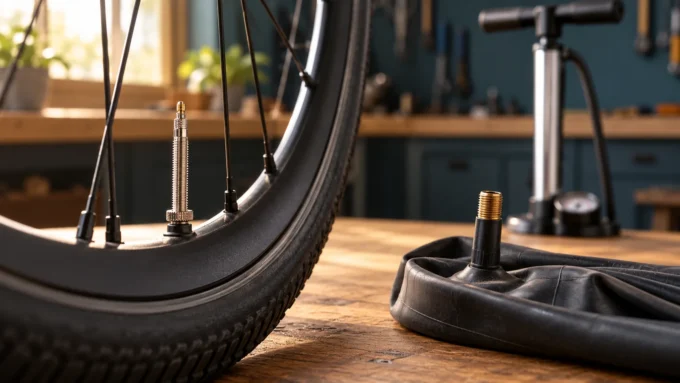
Record your tire size, valve type and wheel-removal method before shopping. A spare tube must fit the tire and have a valve long enough for the rim. Some wheels need an axle wrench or hex key even if a friend’s bike has a tool-free release. Test the exact tools against your own bicycle.
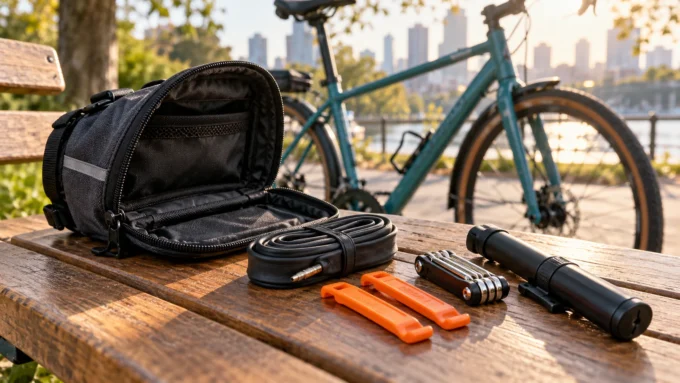
For a tube setup, carry a spare tube, compatible patches, tire levers and an inflation method. For tubeless tires, the repair approach depends on the tire, sealant and plug system; a compatible spare tube can be a fallback when the tire remains serviceable. A damaged casing or bead is not fixed merely by adding air. See the commuter repair kit checklist for a packing and practice routine.
Park Tool recommends inspecting the tire as well as the tube to find the source of a puncture. A new tube can fail immediately if a sharp object remains embedded. Use tire levers suited to the rim and tire rather than a screwdriver.
Add home tools gradually
A stable work area, good lighting and organized small parts make basic jobs easier. Buy tools for a planned repair, not because a kit lists a high piece count. Check the service manual before ordering cassette, bottom-bracket or crank tools: parts that look alike may use different interfaces.
A torque wrench is useful only when its range and bits suit the fasteners being tightened. Use the component manufacturer’s torque and assembly instructions; do not estimate torque from how tight a bolt felt before removal. Work involving uncertain brake performance, damaged steering components or structural cracks belongs with a qualified mechanic.
Check compatibility before paying
- Does every essential bit fit the actual fastener without slipping?
- Can you reach recessed bolts with the tool unfolded?
- Does the pump connect to your valve?
- Will your tube and patch adhesive suit the tube material?
- Can you remove and securely reinstall each wheel?
- If carrying a chain link, does it match the chain specification?
Use the Presta versus Schrader guide to identify valves and the mini pump versus CO2 comparison to choose inflation equipment.
Practice before relying on the kit
Run through a wheel removal and tube replacement at home using only what you plan to carry. Photograph any component information you may need later. Replace consumed supplies after a repair and check that patch adhesive has not dried out. Pack tools so they cannot rub a hole in the spare tube.
For a loaded trip, adapt the kit to your route and access to shops using our touring bike guide. Remote travel may justify additional spares, but carrying unfamiliar tools does not replace repair knowledge.
Images are AI-generated editorial illustrations, not photographs of tested products or exact model references.
Sources and further reading
Editorial note: This is a research-based guide, not a hands-on product test. Check the instructions for your exact bicycle and components before maintenance.




Leave a comment