


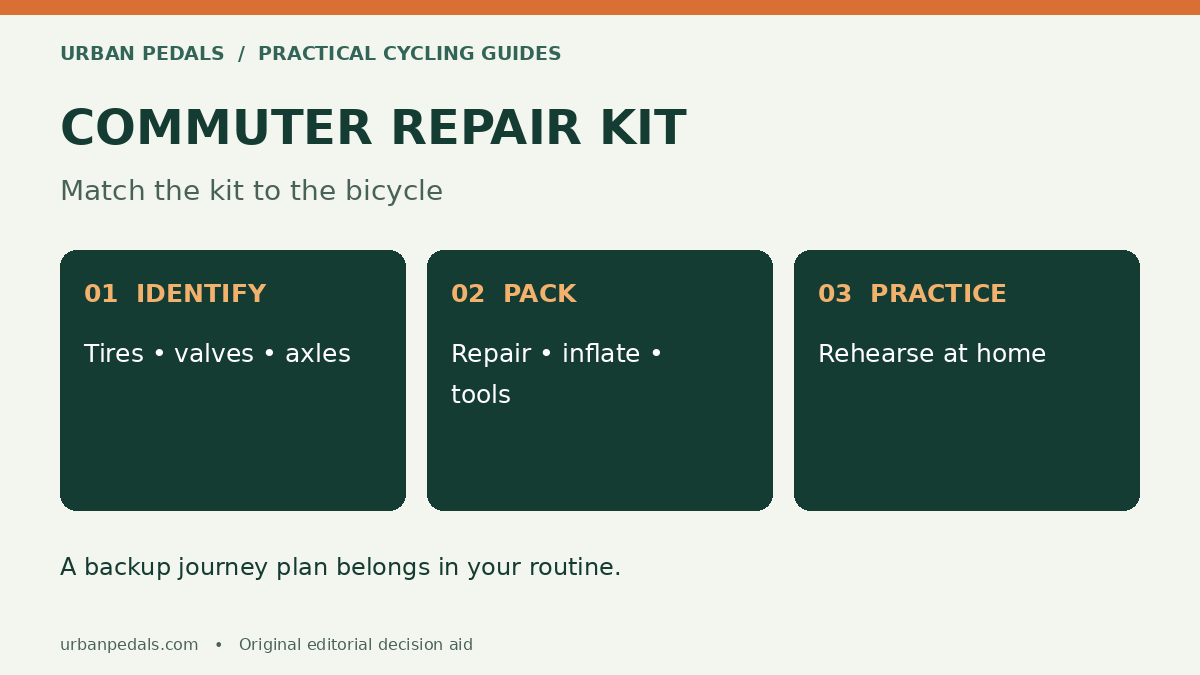
A commuter bike repair kit should help you handle a routine puncture and minor problems you know how to fix. Pack for your actual bicycle and route. A short city ride with transit nearby needs a different fallback plan from an isolated commute before sunrise.
Start with a bike information card
Write down the tire size printed on each sidewall, the valve type, whether the tires use tubes and how the wheels are removed. Add any tool size needed for an axle. Keep a photograph on your phone and a small paper copy in the repair pouch. This takes the guesswork out of replacing supplies later.
Tube and tubeless packing lists
| Item | Tube setup | Tubeless setup |
|---|---|---|
| Inflation | Valve-compatible mini pump | Pump appropriate for the tire; seating a loose bead may need different equipment |
| Primary repair supplies | Correct spare tube and suitable patch kit | Approved plug kit for repairable tread punctures |
| Fallback | Extra patch supplies | Compatible spare tube if tire and rim permit it |
| Wheel tools | Tools required by your axle | Axle tools plus valve-removal tool if needed for tube installation |
| Useful extras | Gloves, a small rag and a bag for damaged parts | |
Check the tube material before buying patches: a kit intended for a conventional butyl tube may not suit TPU or another construction. A multitool also needs the right bits and enough reach; a long feature list is not proof that it fits your bike.
For wider workshop needs, see our bicycle tool kit essentials guide. Keep the commuter pouch focused enough that you will carry it every day.
Run a practice repair at home
- Take the pouch to the bicycle without bringing extra tools.
- Check that you can remove and reinstall the wheel correctly.
- Confirm that the spare tube fits and that the pump connects.
- Practice the repair process using the component instructions.
- Put everything back into its usual pocket and note anything missing.
Do not learn wheel attachment for the first time beside traffic. If a hub-motor cable or unfamiliar axle complicates removal, ask the bike shop to demonstrate the correct procedure. Do not disconnect electrical parts by pulling on wires.
What to do when a flat happens
Move to a safe place before inspecting the bicycle. Find the cause of the pressure loss before consuming your only spare. Park Tool’s repair guide explains why the tire, tube and rim need inspection. If the casing is badly cut, the rim is damaged or the wheel will not secure correctly, use your backup transport plan.
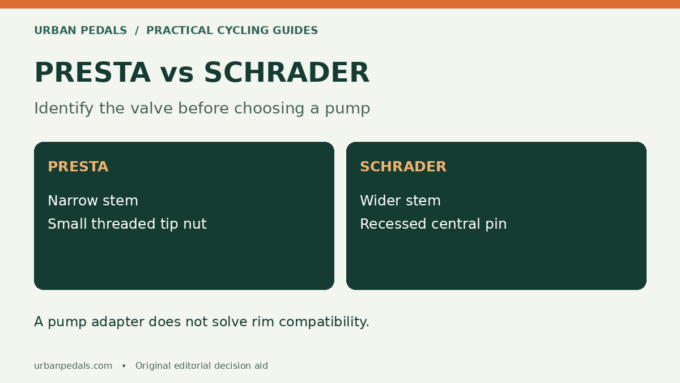
Inflation equipment adds air; it does not repair the puncture. Our pump and CO2 comparison explains the tradeoff. If the pump head will not connect, identify the valve with our valve guide rather than forcing it.
Make the kit reliable between rides
After using anything, replace it before the next commute. Keep sharp tool edges away from a folded tube and protect the pouch from persistent water. Check adhesive and cartridge availability periodically. Add a charged phone, route information and a realistic way home to your commuting routine.
For cold or dark journeys, pair this kit with the winter commuting checklist. The ability to make a repair matters, but so does deciding when conditions make a roadside repair impractical.
Sources and further reading
Editorial note: This is a research-based guide, not a hands-on product test. Check the instructions for your exact bicycle and components before maintenance.



Leave a comment