


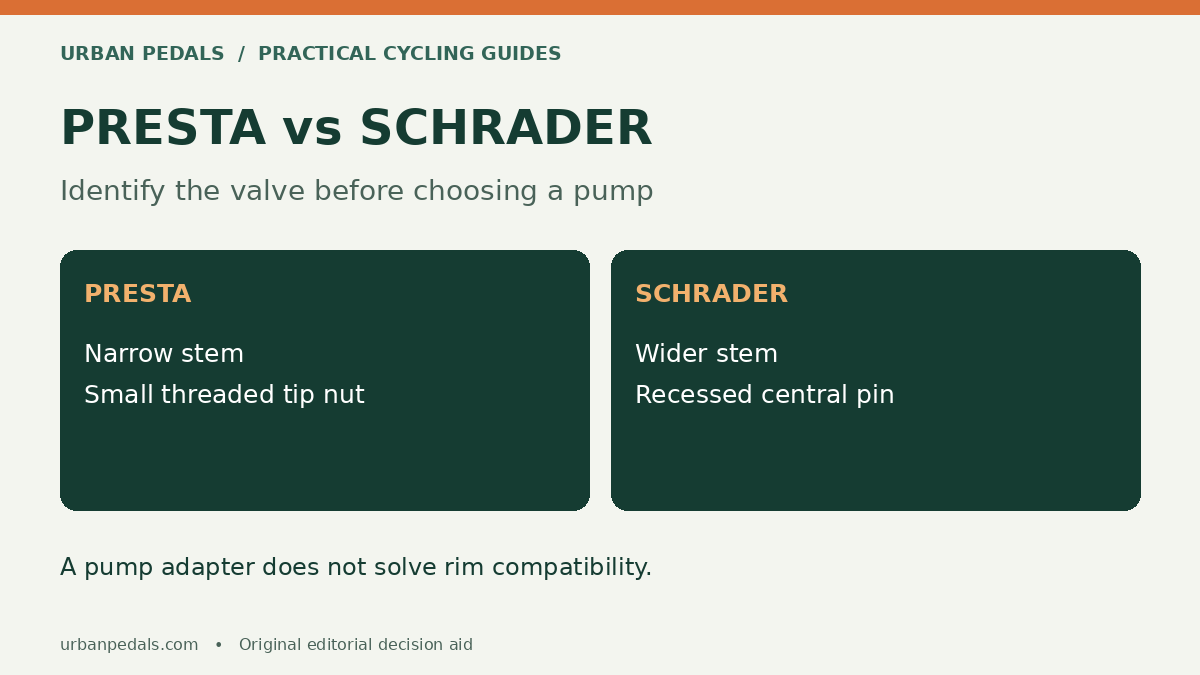
Presta valves are narrow and usually have a small threaded nut at the tip. Schrader valves are wider and have a recessed central pin, like many car tire valves. Identify the valve on the bicycle before buying a pump or tube; the bike’s style alone is not a reliable shortcut.
Quick identification table
| Feature | Presta | Schrader |
|---|---|---|
| Appearance | Slender stem, small threaded tip | Wider stem, recessed central pin |
| Before inflation | Loosen the small tip nut | Remove the dust cap |
| Pump connection | Presta-compatible head or suitable adapter | Schrader-compatible head |
| After inflation | Close the tip nut gently | Refit the dust cap |
These are common U.S. bicycle valve types, but other designs exist. Michelin’s valve guide describes additional types, and some newer systems use different heads. If yours does not match this table, identify its manufacturer and model instead of treating it as a defective Presta valve.
Connect a pump without forcing it
Read the pump-head markings. Some heads have separate holes; others change configuration or use an adapter. Follow the pump instructions because the locking-lever direction and internal arrangement vary. Support the valve while attaching the head so it is not bent sideways.
For a standard Presta valve, remove the cap and loosen the small nut at the top; do not confuse it with the larger retaining nut near the rim. Attach the compatible head, inflate within the tire and rim limits, then remove the head and close the tip nut gently. A Schrader-compatible head operates the recessed pin during inflation.
If air will not go into the tire
- Check that the head is set to the correct valve type.
- For Presta, confirm the tip nut is open.
- Check that the pump head is seated and locked as instructed.
- Inspect for a bent stem, contamination or an obvious leak.
- Stop if the connection requires force or the valve moves in the rim.
A pump gauge that rises immediately while the tire stays soft can indicate a connection problem. It does not automatically mean that the tire has reached operating pressure. Use a suitable gauge and check the setup. For choosing roadside inflation equipment, see mini pump versus CO2 inflator.
Choose the replacement tube by more than the valve
Match the tube’s stated diameter and width range to the tire, then check valve type and stem length. Deep rims need enough exposed valve to connect the pump. Read both the tire and rim guidance if changing tire size.
Schwalbe warns that a narrow valve used in an oversized rim hole can suffer damage. Do not drill a rim to accept a different valve, and do not assume a pump adapter solves rim compatibility. A valve adapter changes a pump connection; it does not make an unsuitable tube or wheel safe.
Save the details in your repair kit
Photograph the tire markings and valve, record the tube you bought and test the pump at home. Put any required adapter in a secure pocket. This simple record is useful if someone else needs to buy a replacement tube for you.
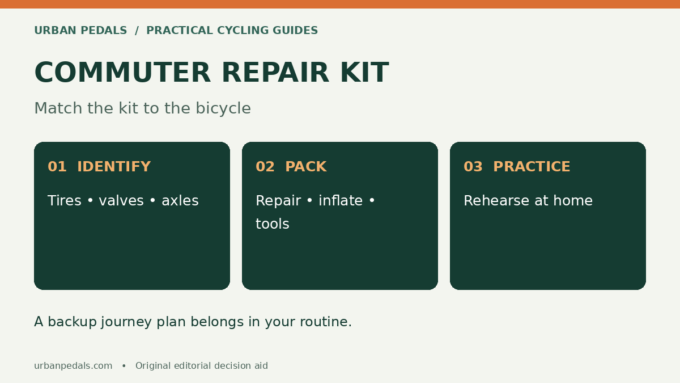
Our commuter repair kit checklist covers the rest of the packing list. For home maintenance equipment, start with the bicycle tool kit guide.
Sources and further reading
Editorial note: This is a research-based guide, not a hands-on product test. Check the instructions for your exact bicycle and components before maintenance.




Leave a comment