


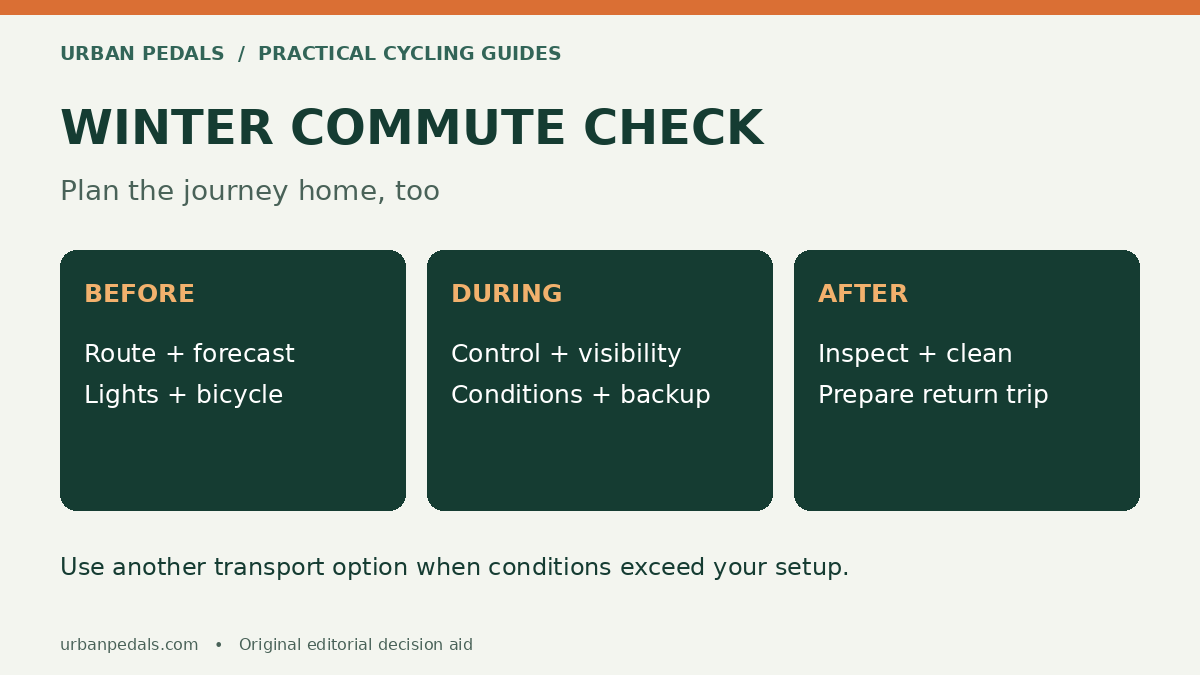
A winter commuting routine should cover the trip home as carefully as the trip out. Check the forecast, daylight, surface conditions and your equipment before deciding to ride. A workable backup route or transport option is part of preparation, especially when ice or visibility changes during the day.
Before leaving: make the route decision
Review conditions along the actual route, including bridges, shaded sections and areas where water can freeze. A clear road outside your home does not establish that the whole journey is clear. Choose a maintained route appropriate to your skills, and allow extra time rather than trying to preserve a summer pace.
If conditions exceed your traction, visibility or ability to control the bike, use another transport option. Winter equipment improves preparation; it does not guarantee a safe ride on ice.
The practical departure checklist
| Check | What to confirm |
|---|---|
| Route | Surface conditions, forecast changes and an alternative home |
| Lights | Working front and rear lights, secure mounts and adequate runtime |
| Bicycle | Tires, brakes, wheel attachment and secure luggage |
| Clothing | Layers that permit movement; hands able to operate controls |
| Repair kit | Bike-compatible supplies and a reachable safe stopping place |
| Return trip | Dry layers if needed, charged lights and updated conditions |
Set up visibility and control
REI’s winter cycling guidance emphasizes lighting, clothing and adapting to conditions. Check light runtime in the mode you will actually use, including the return journey. Aim lights to illuminate appropriately without dazzling others, and ensure bags or clothing do not obscure them. Check your state’s and locality’s equipment requirements.
Test your gloves with the brakes and shifters before leaving. Loose clothing, straps and scarves must stay away from moving parts. Choose layers you can adjust and a helmet setup that still fits correctly; extra bulk should not compromise the helmet’s fit.
Match tires to the conditions
There is no single tire or pressure that suits every winter commute. Tire width, rim compatibility, surface and load all matter. Stay within the tire and wheel manufacturer’s limits. If considering studded tires, confirm compatibility and intended use, then learn their behavior in a controlled area.
A downhill ski-bike conversion is a different activity from commuting on a bicycle. Our guide to skis for bicycles explains that distinction.
Carry a repair kit you can use
Cold hands and darkness make unfamiliar repairs harder. Practice at home and keep the essentials accessible. Follow the commuter bike repair kit checklist, and arrange a fallback if a roadside repair would leave you exposed to traffic or poor conditions.
For an e-bike, leave a conservative battery reserve while learning cold-weather performance. Follow the model’s charging temperatures and use our winter battery care checklist when bringing the battery inside or putting the bike away.
After the ride: prepare for the next one
Inspect the bicycle for problems noticed during the journey. Remove road grime using the maker’s permitted cleaning method, dry the bike and maintain the drivetrain according to component instructions. Keep lubricant away from braking surfaces. Recharge lights as needed and dry wet clothing before the return journey.
Keep a brief note of what worked: gloves that allowed control, a clearer route, light runtime and any persistent mechanical problem. Improve one weak point at a time. If braking, steering or wheel security is uncertain, have the bicycle checked before riding again.
Sources and further reading
Editorial note: This is a research-based guide, not a hands-on product test. Check the instructions for your exact bicycle and components before maintenance.



Leave a comment